Hallo, Nadine hier,
***
Hi, this is Nadine,
heute habe ich für euch eine CD Fototasche.
***
today Ihave a CD Photo bag for you.
Ihr benötigt dazu:
Cardstock
1 Mal in 12 x 30,5 cm
2 Mal in 11,5 x 11,5 cm
2 Mal in 11 x 11 cm
2 Mal in 10,5 x 10,5 cm
Designpapier
2 Mal 1x11,5 cm
2 Mal 3x 11,5 cm
1 Mal 11,5x11,5 cm
Außerdem 1 Magnetverschluss oder Klettverschluss.
***
You will need:
cardstock
1 in 12 x 30,5 cm
2 in 11,5 x 11,5 cm
2 in 11 x 11 cm
2 Mal in 10,5 x 10,5 cm
DSP
2 in 1x11,5 cm
2 in 3x 11,5 cm
1 in 11,5x11,5 cm
And some magnets or other things to close.
Und nun geht es los:
***
Now we start:
Zuerst wird gefalzt.
***
First you have to score.
Dann braucht ihr den Cardstock.
***
Then you will need the cardstock.
Die beiden kleinen roten Stücke werden in der Mitte mit einer Kreisstanze ausgestanzt. Nehmt die Größe, die ihr zu Hause habt und die passt.
***
Punch a circle in the middle of the red pieces, take whichever circle punch you have at home.
Damit beklebt ihr innen die beiden großen Seiten. Den roten Cordstock habe ich verkehrt herum aufgelegt, damit ihr sehen könnt, dass ihr nur die inneren drei Seiten mit Klebeband verseht, damit ihr später euer Bild einschieben könnt.
***
Then you glue the inner big pieces together. I have put the cardstock upside so you can see the inner three sides with the tape. In the open space you can put in your picture.
Nun schiebt ihr die Bilder ein, dann nehmt ihr die kleinen Designpapierstücke von 1 cm und klebt sie in die Mittelfalzen und rechts das 3 cm breite Stück. Darunter lasst ihr einen Magneten verschwinden wie auf dem Bild gezeigt.
Ich klebe das Papier dann immer mit Klebeband fest.
***
Now you put in the picture, take the DSP pieces measuring 1cm and glue them to the inner pieces. Then the 3 cm piece to the side, hide the magnet under it.
I always use double sided tape, this is more firm than liquid glue.

Auf die Außenseite kommt das Gegenstück des Magneten. Ich ziehe dafür immer die Klebefolie ab, lege ihn auf den anderen Magneten und klappe dann das Papier um, dann bleibt er genau dort kleben wo er soll. Danach klebt ihr euer Designpapier drüber.
***
To the outside you put the other side of the magnet. The way I work is usually to take off the double sided tape from the magnet, attach it to the second magnet, fold over the paper and the magnet will directly be taped to where it is supposed to be. Then add your DSP.
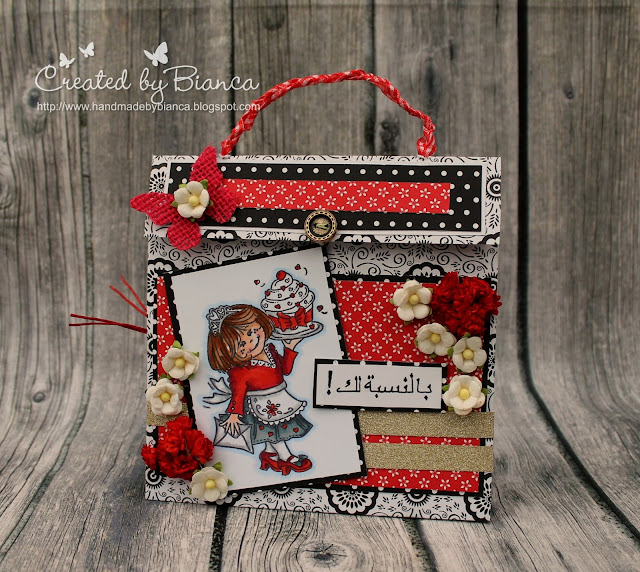
Nun kann ausdekoriert werden, bei mir sieht das dann so aus.
***
Now you can start decorating, this is my bag.
Die Vorderseite.
***
The front.
Einmal seitlich, nachdem ich alles geknickt habe.
***
A side picture to make you see how I folded it.
Und die Fotostücke. Wer mag kann bei den Bildern auch noch ein Tab ansetzen, damit man die Bilder rausziehen kann. Ich wollte das jetzt für mich nicht.
***
And the inner picture parts. If you want you can attach a tab to the pictures if you want to remove them and put in another but I didn´t want to do that.
Und nun kommen die Werke der anderen Teammitglieder:
***
And here come the other designer's pieces:


6 Kommentare:
Eine geniale Anleitung, die ich bestimmt mal nachmachen werde.
Danke!
GLG Ines♥
Wow, was für eine tolle Idee! Eure Werke sind traumhaft!
Nen lieben Gruß
Conny
Eine klasse Idee und superschöne Werke vom Team. Das werde ich bestimmt mal ausprobieren.
LG Sabine
wonderful creations
have a nice day
>^.^<
Was für Meisterwerke wieder, die ihr uns zeigt. Wunderschön, jede auf ihre Art!!!
lg die hippe
thank you for this tutorial. marta
Kommentar veröffentlichen